Master These Essential Tasks and Transform Your Relationship With Your Car
Modern cars are engineering marvels, but that doesn't mean basic maintenance requires a mechanic's training. These essential DIY tasks can be done in your driveway with minimal tools, saving you hundreds of dollars while giving you a deeper connection with your vehicle. In 2026, when repair costs continue to rise, knowing these basics is more valuable than ever.
Why DIY Maintenance Matters
Regular DIY maintenance offers numerous benefits:
- Cost Savings: Labor at repair shops often exceeds the cost of parts by 3-5x
- Earlier Problem Detection: You'll notice issues before they become expensive repairs
- Vehicle Familiarity: Understanding your car makes everything easier
- Peace of Mind: Know the job is done right because you did it yourself
- Environmental Impact: Properly maintained vehicles are more eco-friendly
Task 1: Check and Top Off All Fluids
Your vehicle relies on multiple fluids for proper operation. Monthly checks take just minutes:
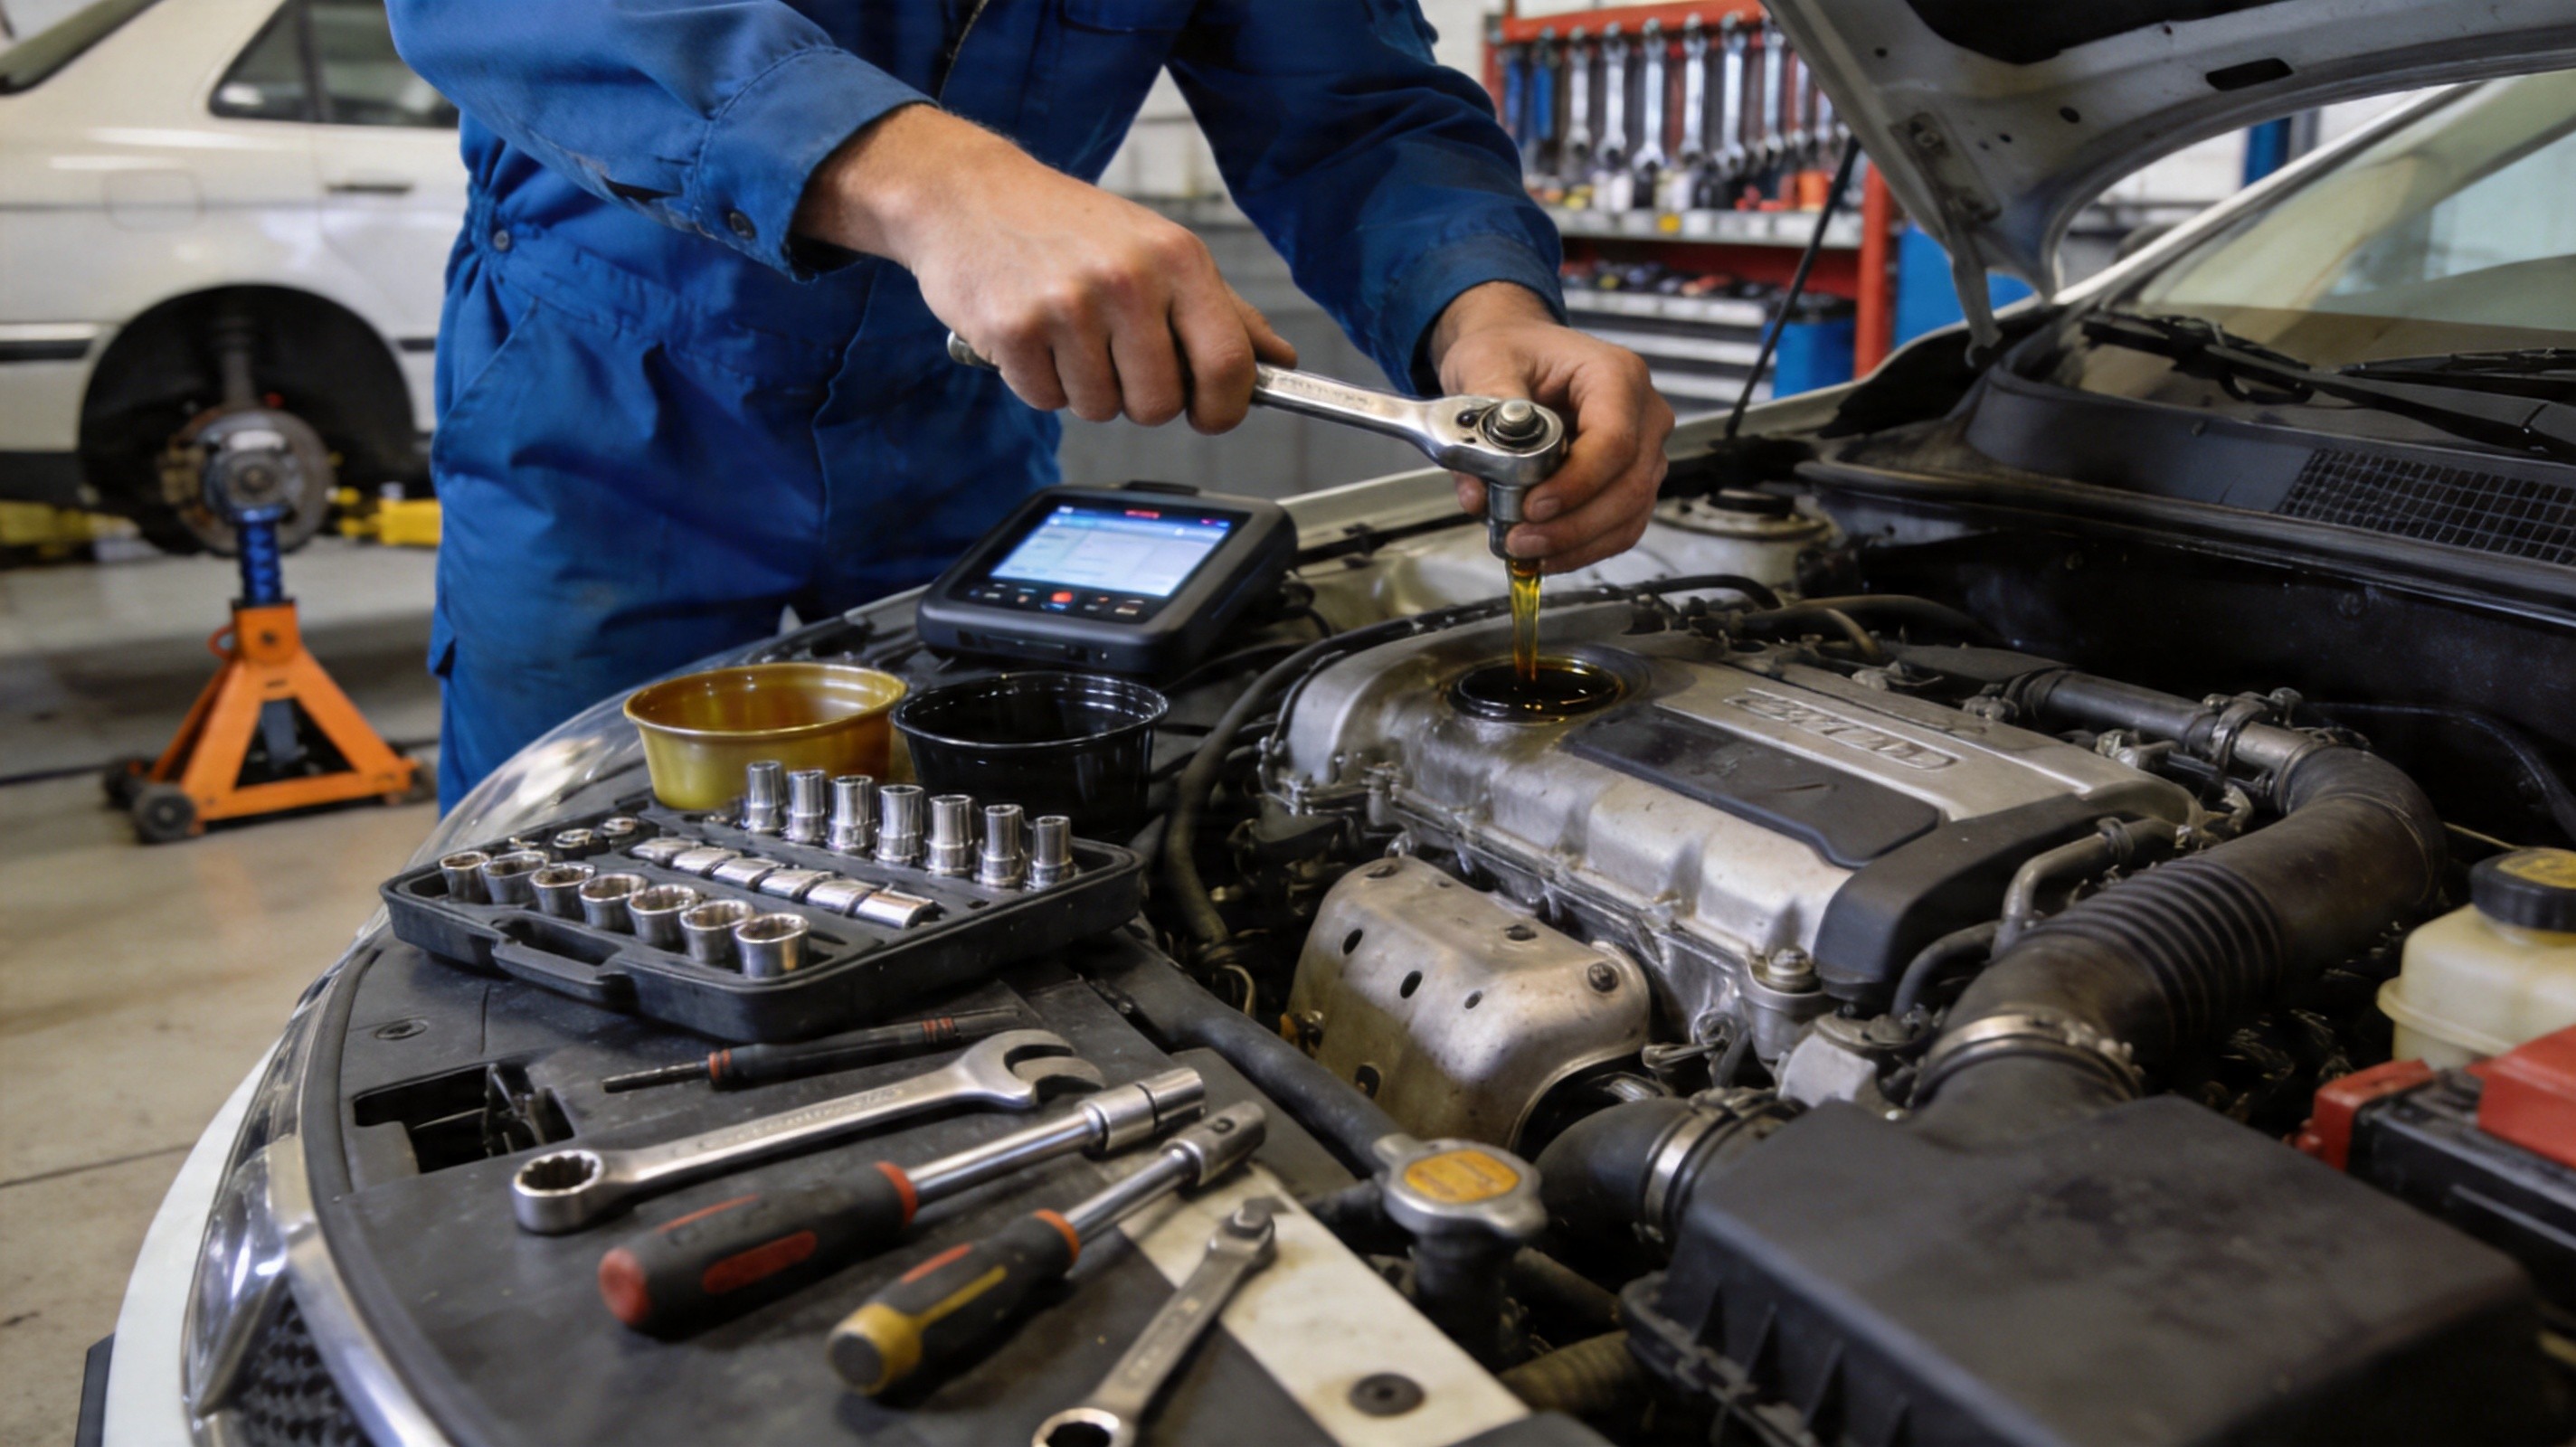
Engine Oil
Park on level ground, wait for engine to cool. Pull the dipstick, wipe clean, reinsert fully, then pull again to check level. Should be between MIN and MAX marks.
Pro Tip: Oil should be amber to dark brown—not black or gritty. Consider upgrading to synthetic oil for better protection.
Coolant/Antifreeze
Only check when engine is cold. Coolant should be visible in the overflow tank between MIN and MAX. If low, add a 50/50 mix of coolant and distilled water.
Brake Fluid
Located in the brake master cylinder reservoir. Level should be near the MAX line. Low brake fluid could indicate worn brake pads or a leak—investigate before adding more.
Windshield Washer Fluid
Simple to check and refill. Use proper washer fluid, not water—especially in winter. Water can freeze and damage your washer system.
Transmission Fluid
Some vehicles have dipsticks for transmission fluid. Check while engine is running and transmission is in park/neutral. Follow manufacturer's recommendations for type and interval.
Task 2: Tire Pressure and Tread Inspection
Your tires are your only contact with the road—keeping them properly maintained is essential for safety and efficiency.
Finding the Correct Pressure
- Check the sticker on your driver's door jamb for recommended pressure
- Don't use the number on the tire sidewall—that's the maximum, not recommended
- Check when tires are cold for accurate readings
The Penny Test
Insert a penny into the tread with Lincoln's head facing down. If you can see the top of his head, replace the tire.
Visual Inspection Checklist
- Uneven wear patterns indicate alignment or suspension issues
- Bulges or cracks require immediate attention
- Check for embedded objects (nails, screws)
- Verify valve stems aren't cracked or leaking
Task 3: Replace Windshield Wipers
Worn wipers are a safety hazard, especially in rain or snow:
Signs You Need New Wipers
- Streaking or skipping across the windshield
- Chattering or squeaking sounds
- Rubber separated from the blade
- Cracks or tears in the blade
How to Replace
- Lift the wiper arm and locate the release tab
- Press the tab and slide the blade off
- Bring the old blade to match the correct size
- Slide the new blade on until it clicks into place
Pro Tip: Replace wipers every 6-12 months for optimal performance.
Task 4: Change Your Air Filter
A clogged air filter reduces performance and fuel economy:
Locate the Air Filter
Most engines have an air filter box near the engine with clips or screws holding the lid on.
Replacement Steps
- Open the air box and remove the old filter
- Inspect the old filter—if visibly dirty, replace
- Clean any debris from the housing
- Install the new filter in the same orientation
- Secure the housing lid
Pro Tip: Check and replace every 15,000-30,000 miles, more often in dusty conditions.
Task 5: Replace Cabin Air Filter
Often overlooked, this filter cleans air entering your vehicle's interior:
Location
Usually behind the glove box, under the dashboard, or in the engine bay—check your owner's manual.
Signs It Needs Replacement
- Musty or unpleasant odors when AC is on
- Foggy windows that don't clear quickly
- Reduced airflow from vents
- Visible debris or discoloration
Replacement Tips
Replace every 12,000-24,000 miles, or more often in dusty conditions or areas with poor air quality.
Task 6: Check and Replace Spark Plugs
Spark plugs ignite the air/fuel mixture in your engine:
Signs of Failing Plugs
- Difficulty starting the engine
- Engine misfires or rough idle
- Poor acceleration
- Increased fuel consumption
- Check engine light
Replacement Intervals
- Copper plugs: 20,000-30,000 miles
- Platinum plugs: 60,000-100,000 miles
- Iridium plugs: 100,000+ miles
Pro Tip: Modern platinum and iridium plugs can last 60,000-100,000 miles but should be inspected periodically.
Task 7: Inspect Belts and Hoses
Belts and hoses degrade over time—failure can leave you stranded:
Serpentine Belt Inspection
- Look for cracks, glazing, and proper tension
- A slipping belt often squeals when accelerating
- Typical replacement: 60,000-100,000 miles
Hose Inspection
- Squeeze hoses to check for hardness or softness
- Look for cracks, bulging, or leaks at connections
- Replace brittle or damaged hoses immediately
Task 8: Clean Battery Terminals
Corroded terminals prevent proper charging and can leave you stranded:
Safety First
- Disconnect negative terminal first, then positive
- Wear gloves and eye protection
- Work in a well-ventilated area
Cleaning Steps
- Mix baking soda with water (tablespoon per cup)
- Apply with an old toothbrush and scrub
- Rinse with clean water and dry thoroughly
- Apply petroleum jelly or terminal spray
- Reconnect positive first, then negative
Task 9: Tire Rotation
Promotes even wear and extends tire life:
- Rotate every 5,000-8,000 miles
- Follow your vehicle's rotation pattern
- Many auto parts stores offer free rotation with purchased tires
Task 10: Check Brake Pads and Rotors
Your brakes are your most important safety system:
Visual Inspection
- Through the wheel spokes, look at the brake pad thickness
- Pads should be at least 1/4 inch thick
- Listen for squealing or grinding sounds
Warning Signs
- Squealing when braking indicates worn pads
- Grinding sounds mean pads are fully worn
- Vibrating brake pedal may indicate warped rotors
- Pulling to one side needs immediate attention
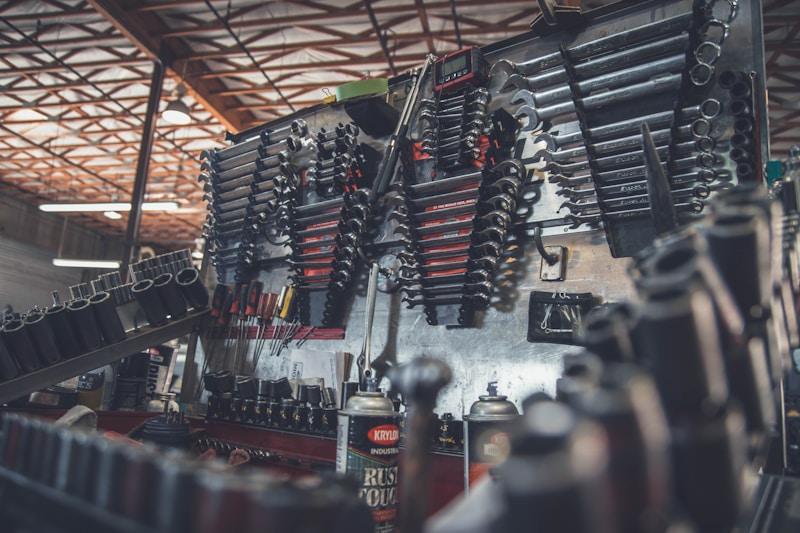
Essential Tools for DIY Maintenance
Build your toolkit with these basics:
- Socket set (metric and SAE)
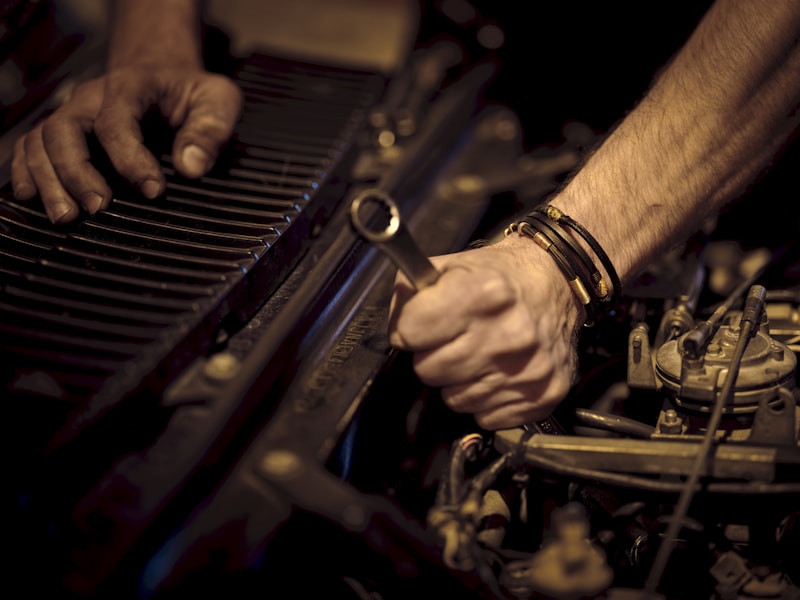
- Wrench set (combination and adjustable)
- Screwdriver set (Phillips and flathead)
- Torque wrench (for critical fasteners)
- Jack and jack stands (rated for your vehicle's weight)
- Tire pressure gauge
- Multimeter (for electrical testing)
- Flashlight and work light
- Safety glasses and gloves
When to Call a Professional
Know your limits. Professional help is essential for:
- Brake system repairs beyond fluid checks
- Engine or transmission work
- Electrical system diagnostics
- Suspension component replacement
- Airbag-related work
- AC refrigerant handling
Creating a Maintenance Schedule
Stay organized with a simple maintenance log:
- Monthly: Fluid checks, tire pressure, visual inspection
- Every 3 months: Wiper replacement, cabin filter check
- Every 6 months: Full fluid top-off, tire rotation
- Yearly: Professional inspection, comprehensive service
The money you save on basic maintenance can be invested in quality tools or saved for professional repairs when needed. Carval Auto Parts offers a complete selection of quality fluids, filters, and replacement parts to support your DIY maintenance journey.